&color=rgb(100%2C100%2C100)&link=https%3A%2F%2Fgithub.com%2Faserto-dev%2Ftopaz)
Authentication and authorization with Auth0 and Aserto
Oct 28th, 2024

Roie Schwaber-Cohen
Authorization |
Engineering

(Updated February 23 2023 to align with v2 middleware)
(Updated October 25 2024 to work with the latest Auth0 Sample)
In this guide, we will use Aserto for application authorization with an example Auth0 web app. We’ll create a policy with Aserto and use the Aserto Node.js SDK to add authorization capabilities to the sample application.
Prerequisites
Before you get started, you’ll need:
- An Auth0 account. You can sign up for free here.
- An Aserto account. You can sign up for free here.
- Node.JS with NPM or Yarn installed on your machine.
Configure Auth0
Create a new application
Go to Auth0 Dashboard, and select the Applications > Applications item on the left sidebar.

Click “Create an Application”:
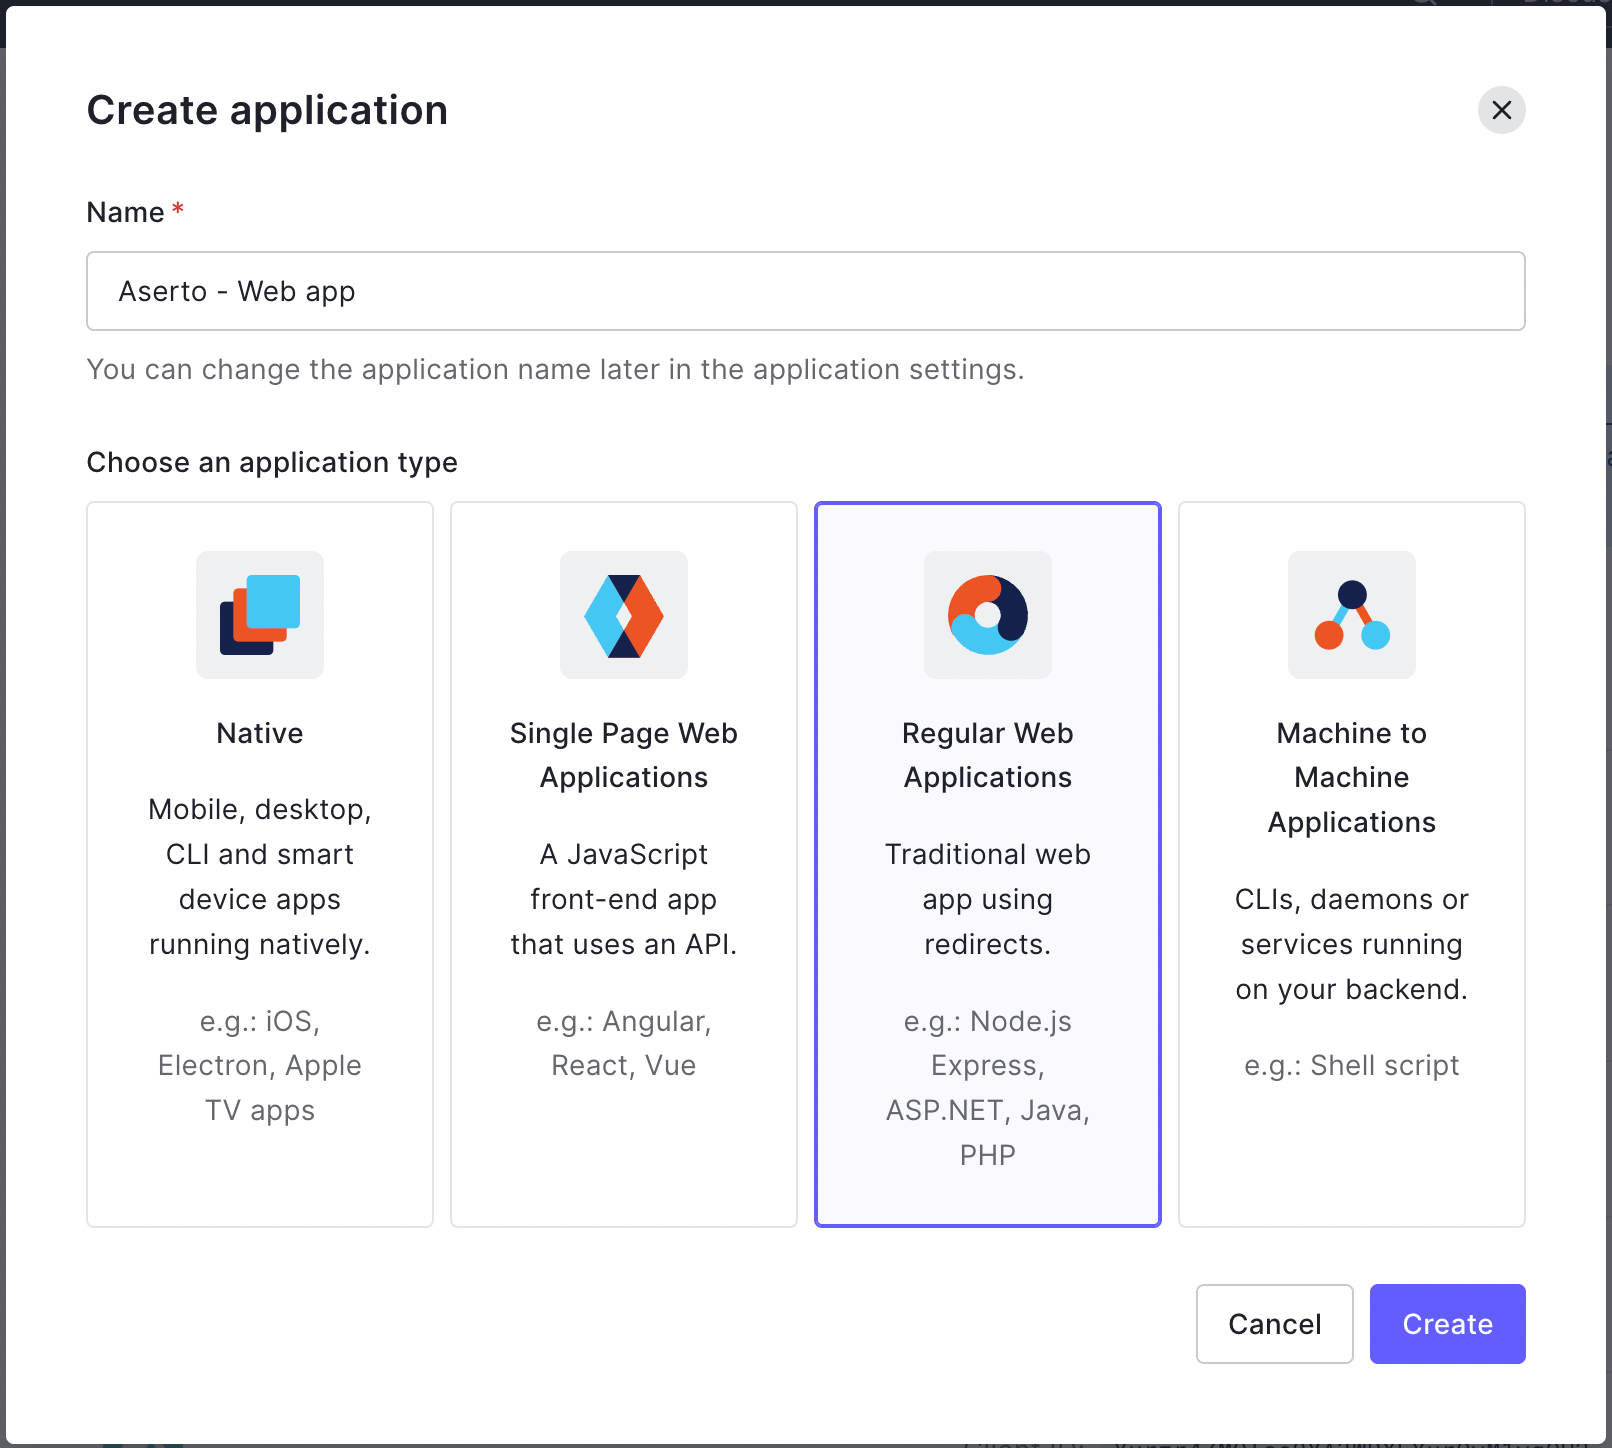
Name your application "Aserto - Web app”, and select Regular Web Application, then click the “Create” button.
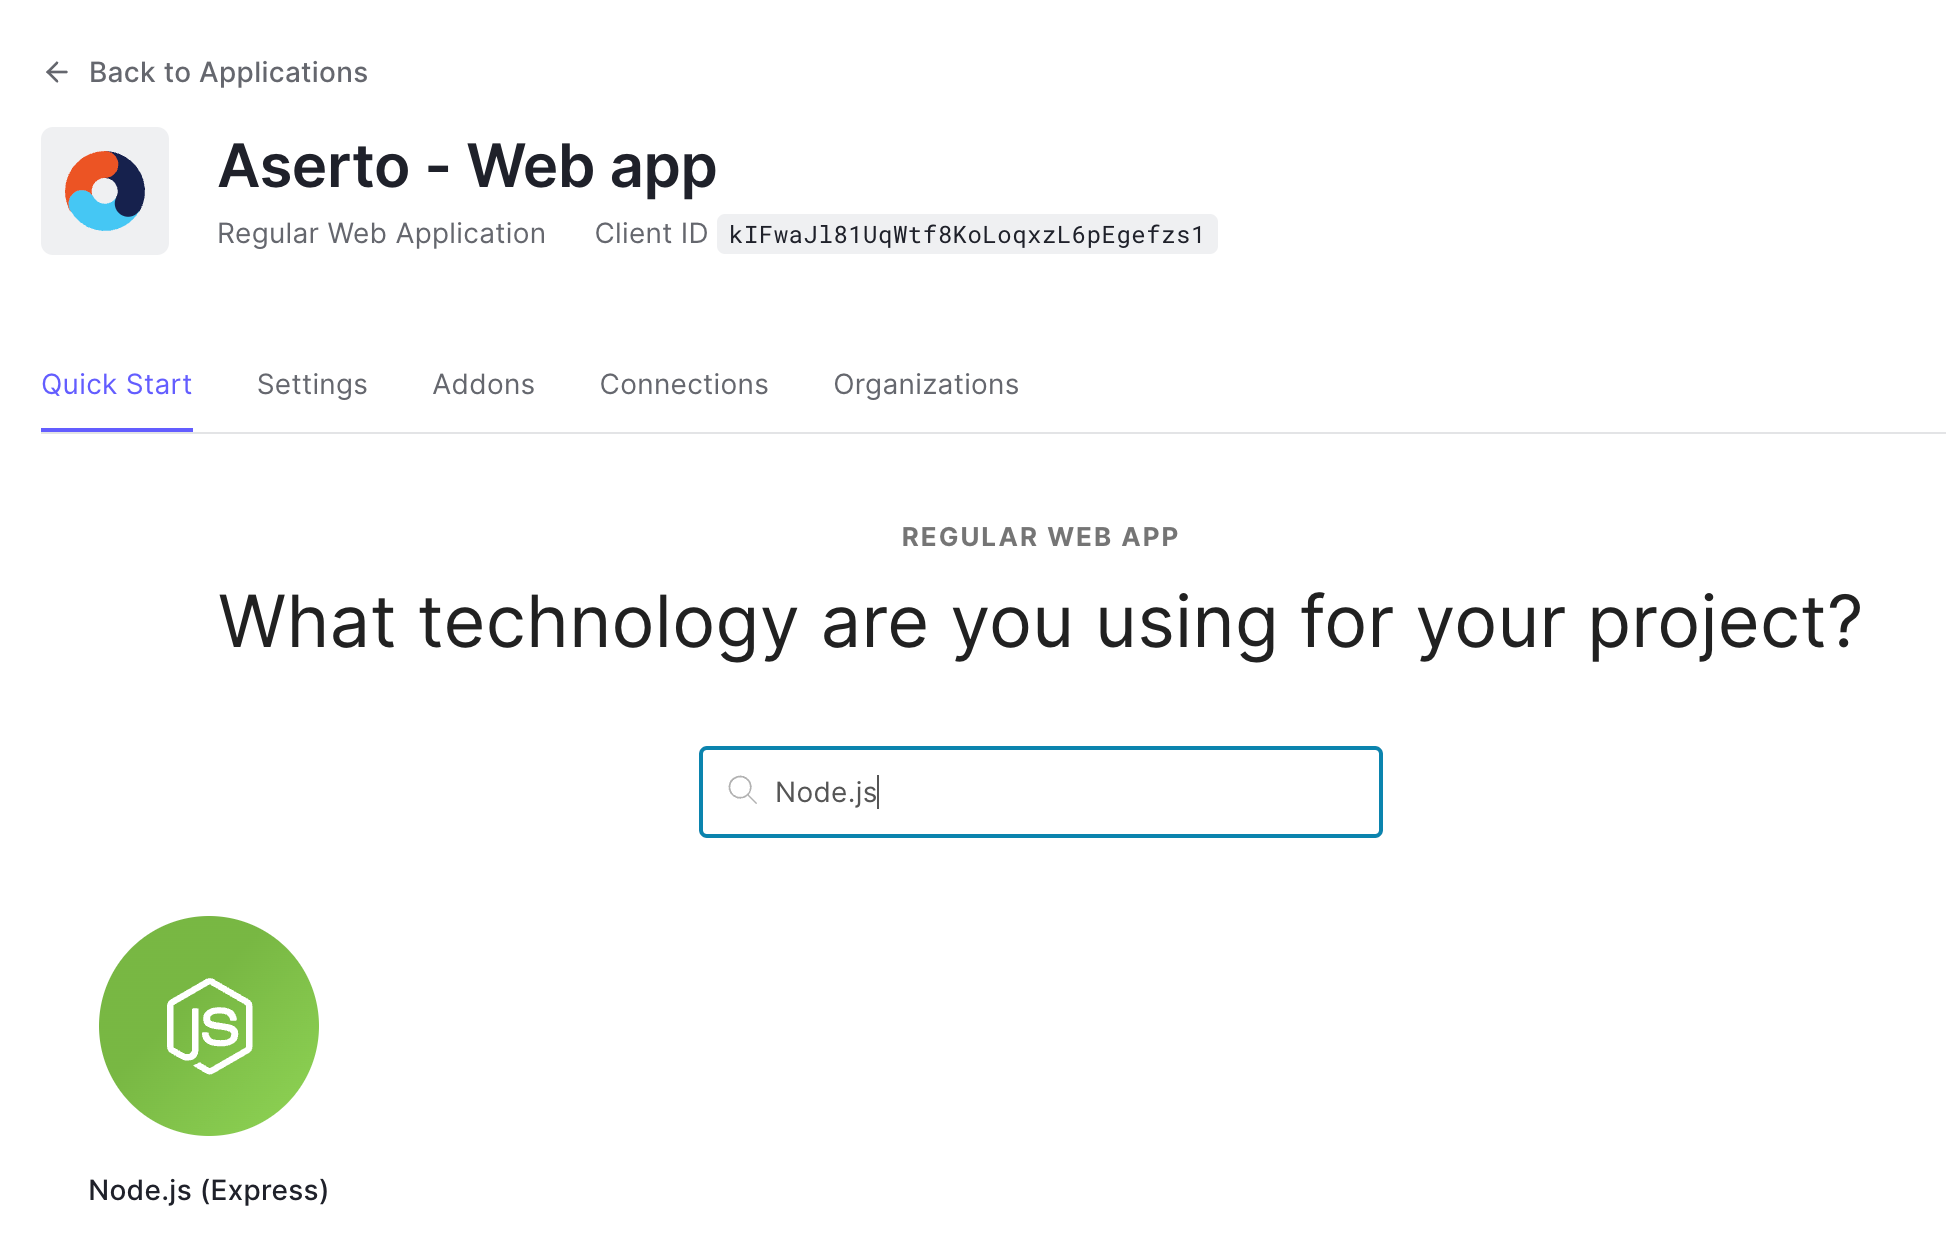
Select "Node.js (Express)" from the list of technologies:
Click the “Explore Sample App” Button:
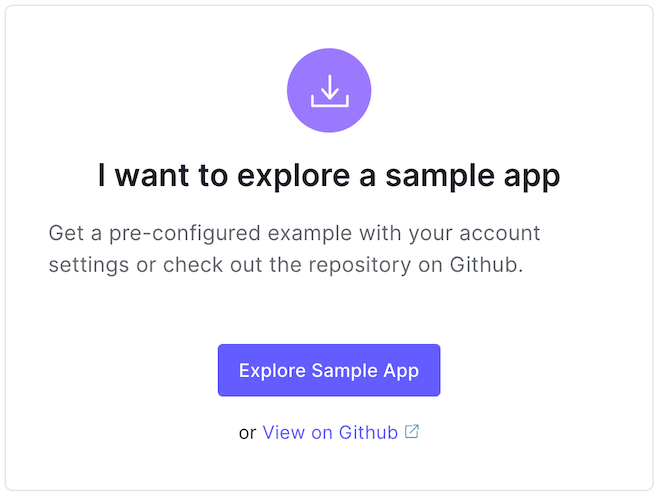
Click the “Save and Download App” button to download the sample application.

Extract the downloaded application, and open the .env file.
Retrieve your Client ID and Domain from the “Settings” tab:
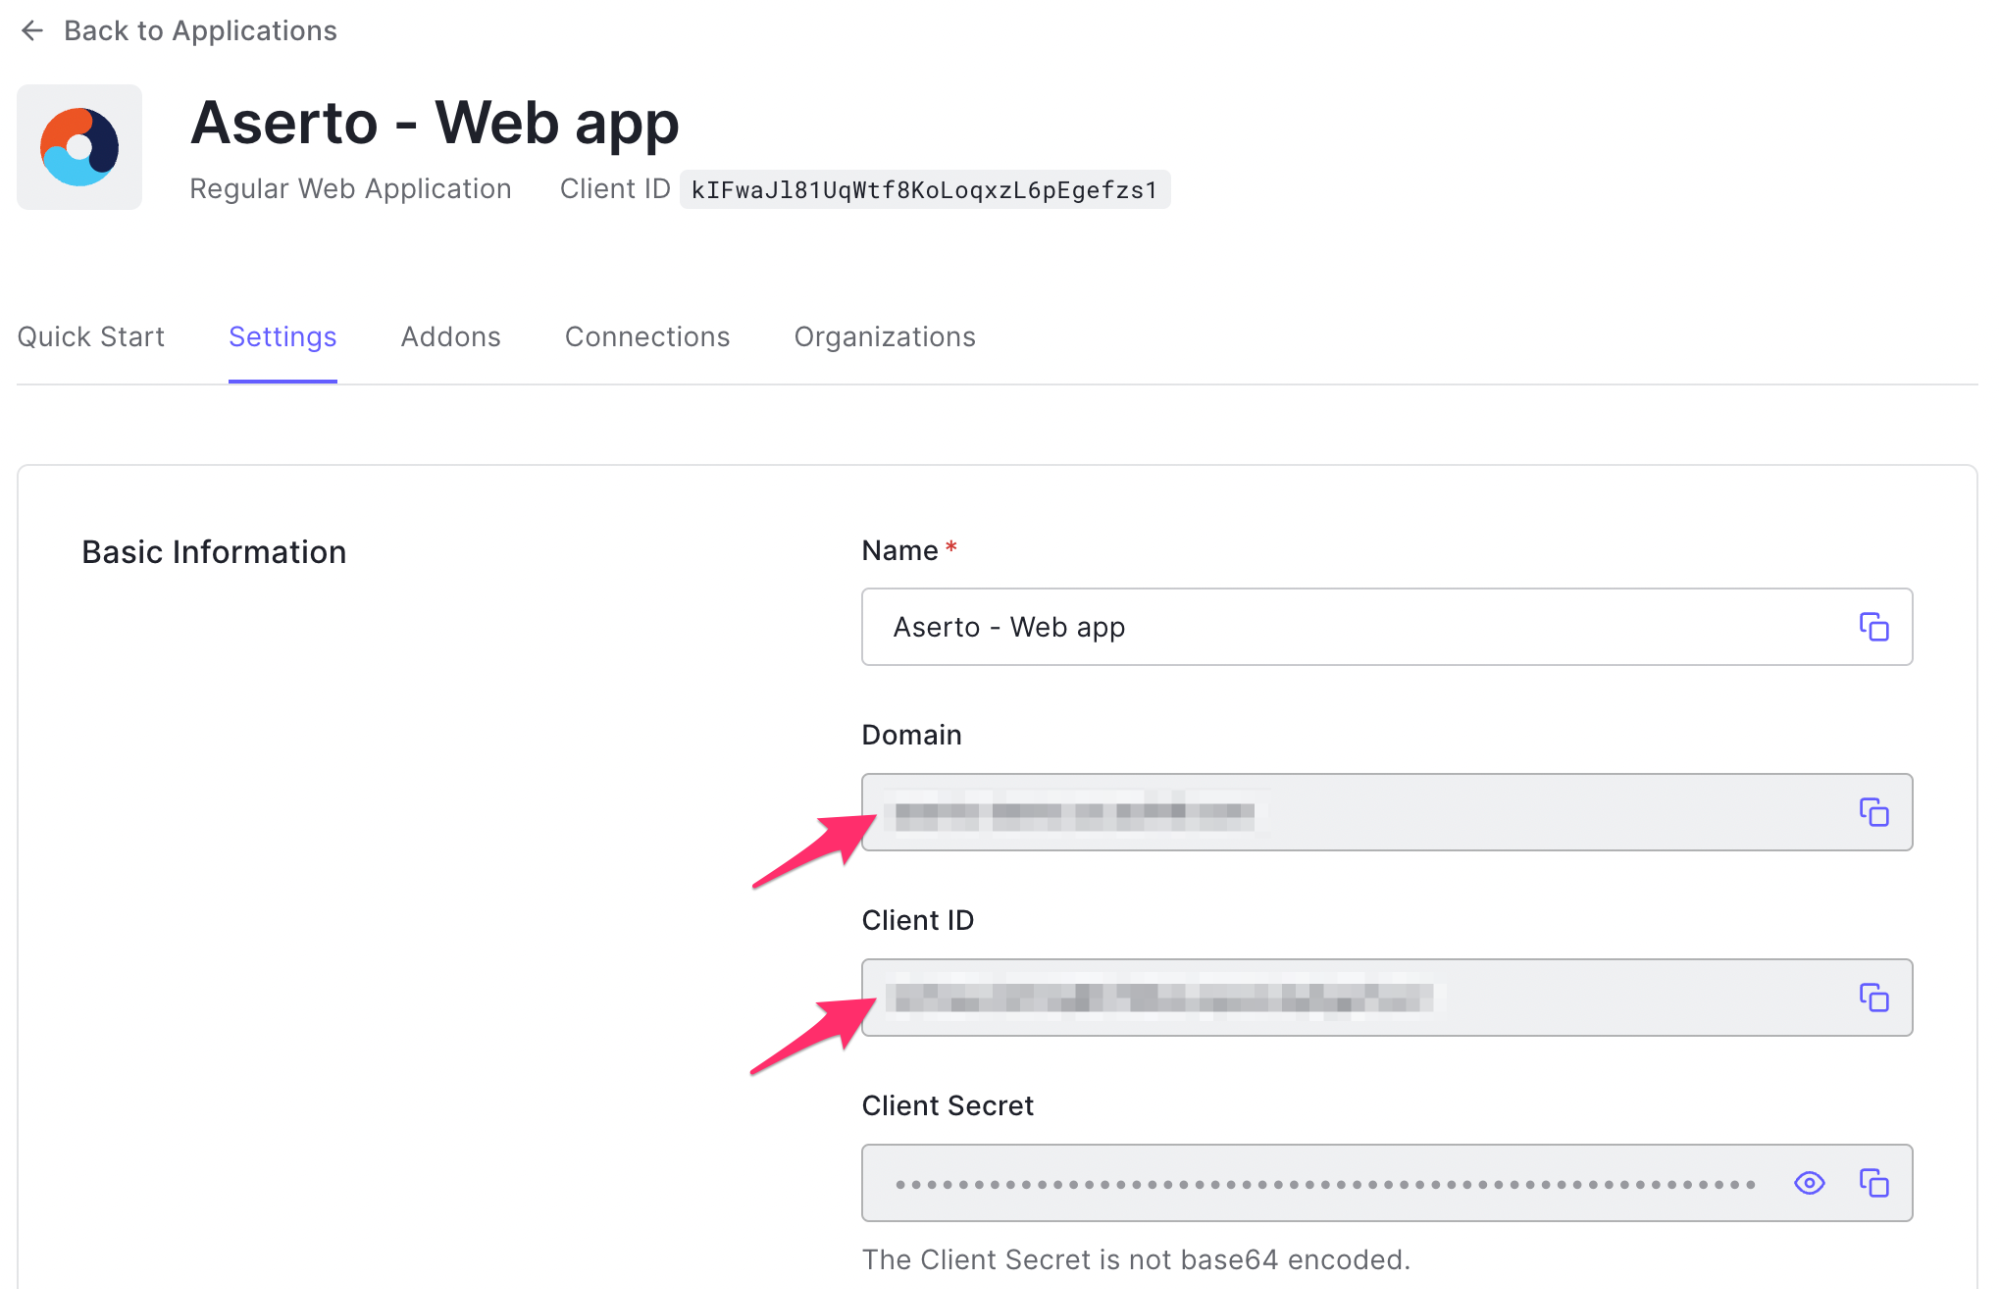
Copy the Client ID and Domain values and replace the corresponding placeholders in the .env file.
Create users
In Auth0, we’ll create a couple of users. One will have the role of an “admin” and will be able to view the “/profile” route. The other will have the role of a “user” and will not be able to view the “/profile” route.
To get started, head to the Auth0 management console and click the “User Management” menu item on the left sidebar.
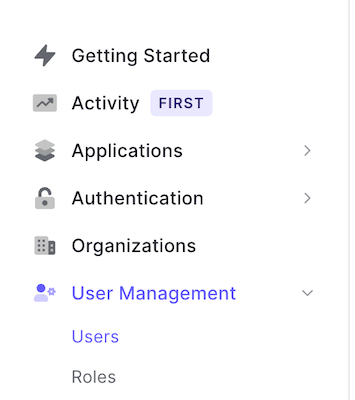
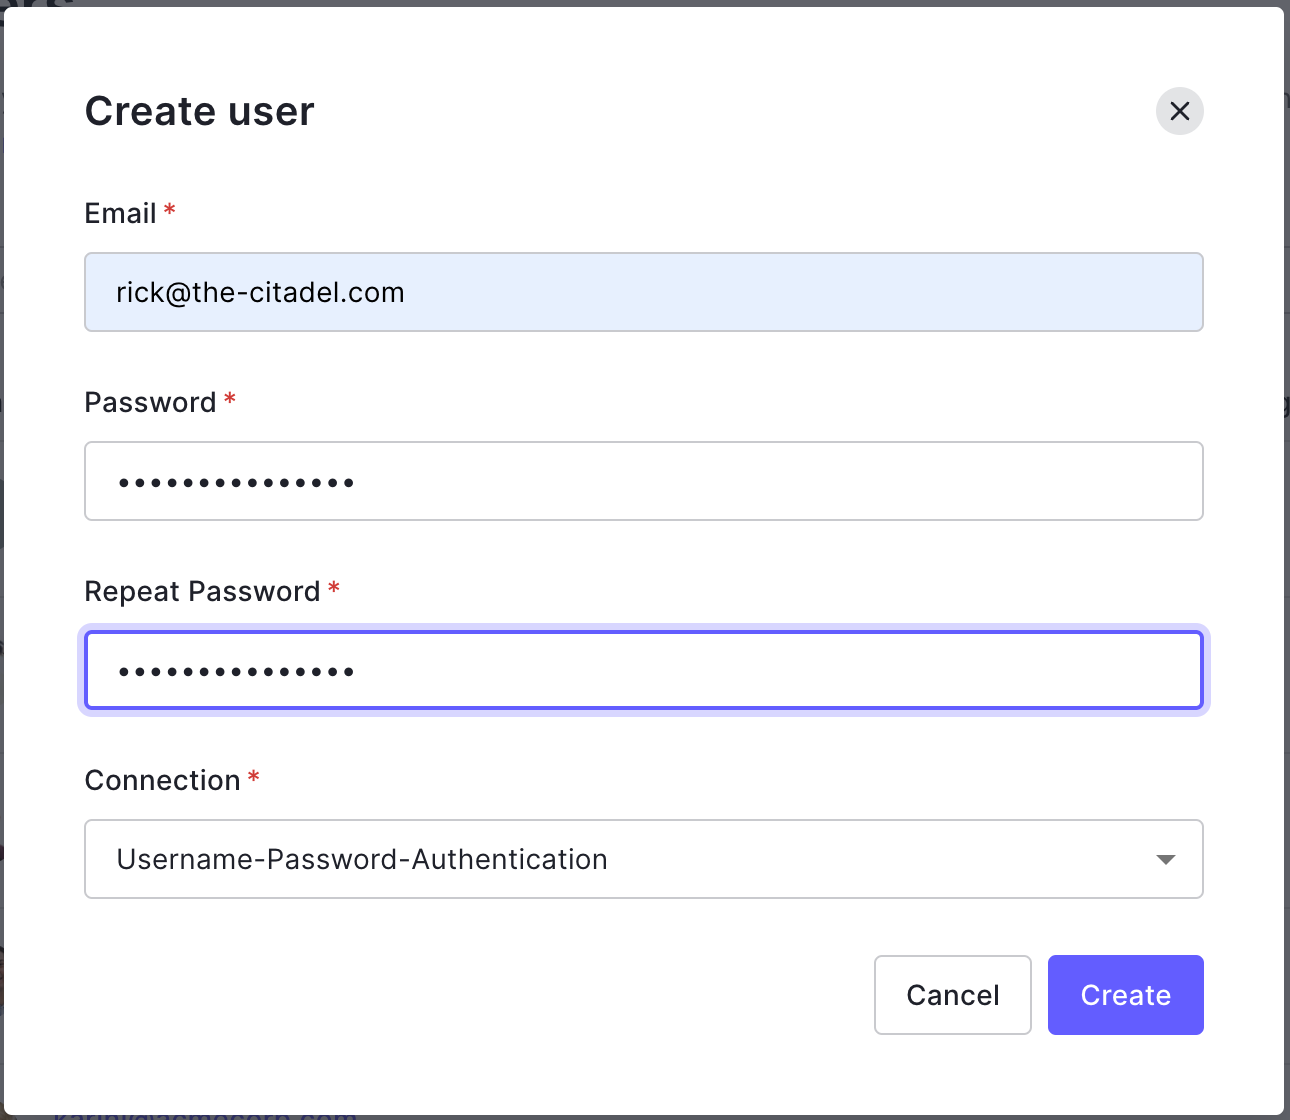
To create a new user, click the “Create User” button:

Use the email "rick@the-citadel.com" and choose a password. Make sure you save this password - you’ll be using it later to log into the application.
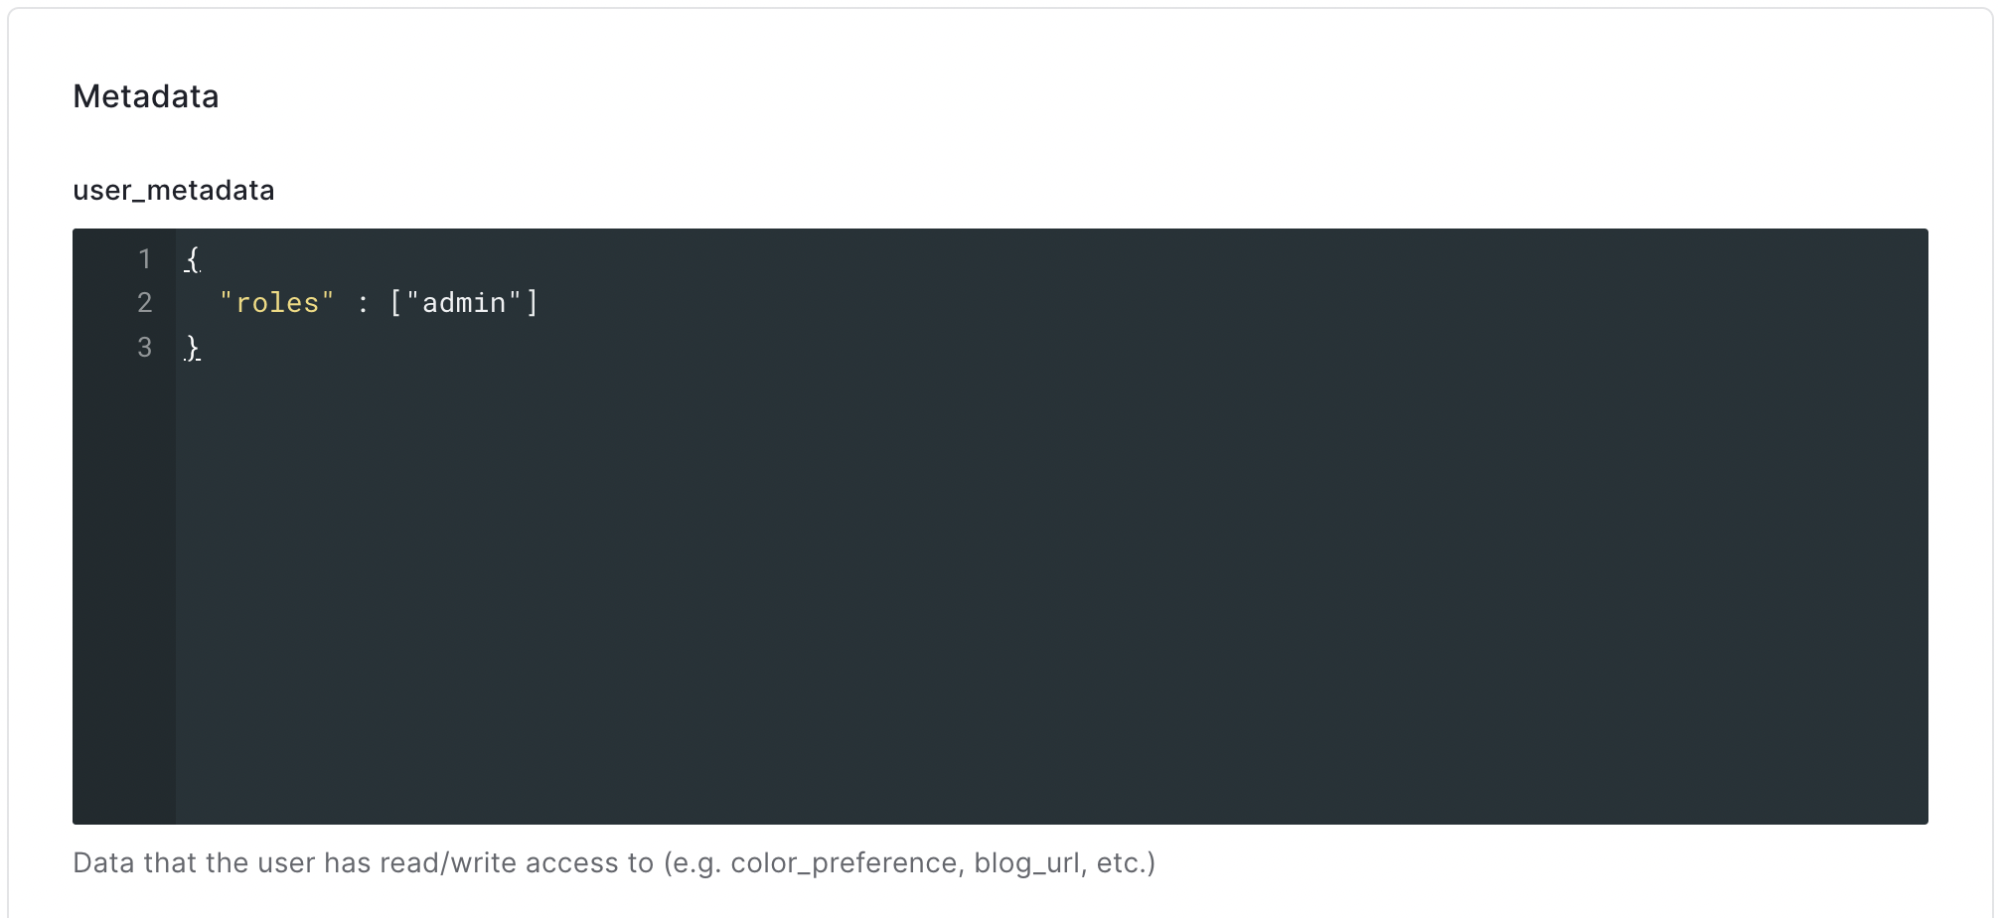
Once the new user is created, scroll down to the Metadata section and add the following JSON to the “user_metadata” section:
{
    "roles": ["admin"]
}
Repeat the process for a user with the email “morty@the-citadel.com”, but this time, use the following JSON:
{
	"roles" : ["user"]
}
Again, make sure you save Morty’s password - you’ll be using it later to log into the application.
Create an M2M application
In order for Aserto to communicate with Auth0, you’ll need an M2M application set up in Auth0. To create one, open your Auth0 console, and navigate to “Applications”.
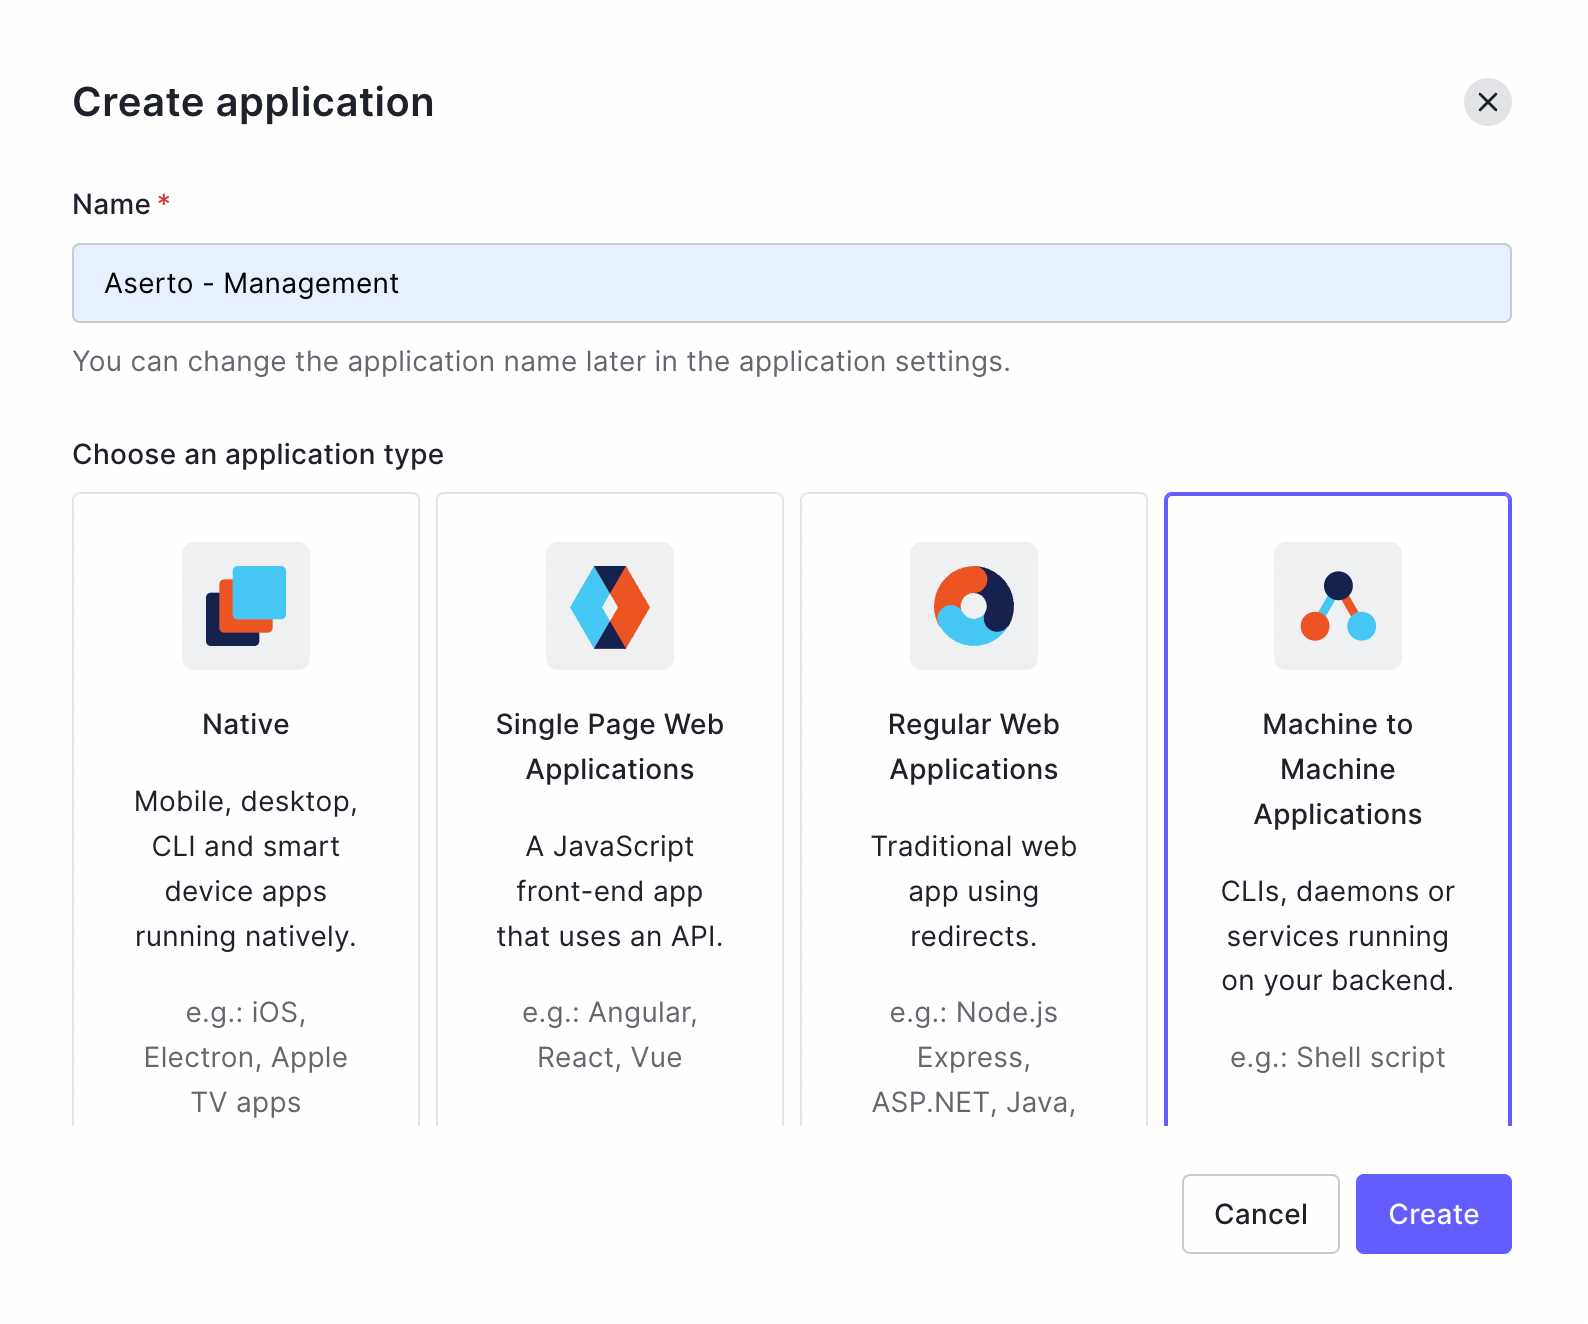
Create a new Machine-to-Machine application by clicking the "Create Application" button.
In the following screen, name the application “Aserto - Management” and select “Machine to Machine Applications”:
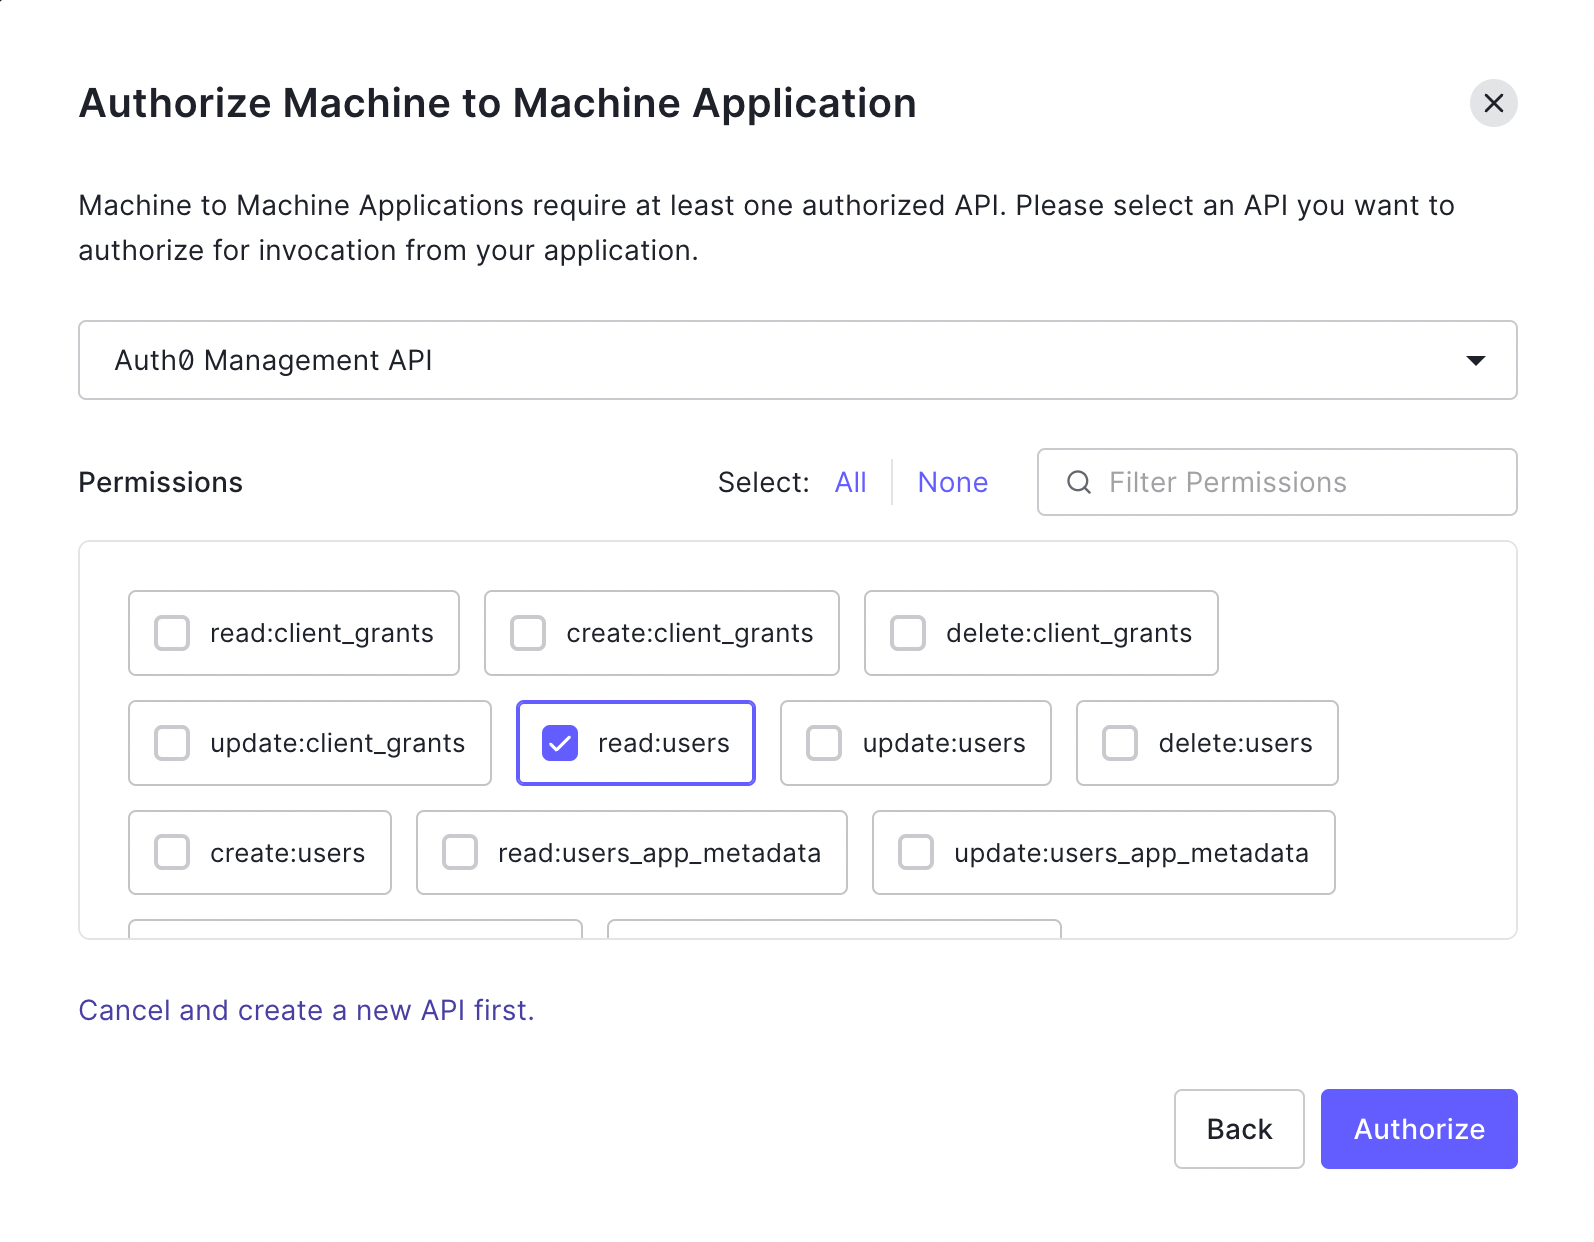
Next, select the Auth0 Management API, and enable the read:users permission.
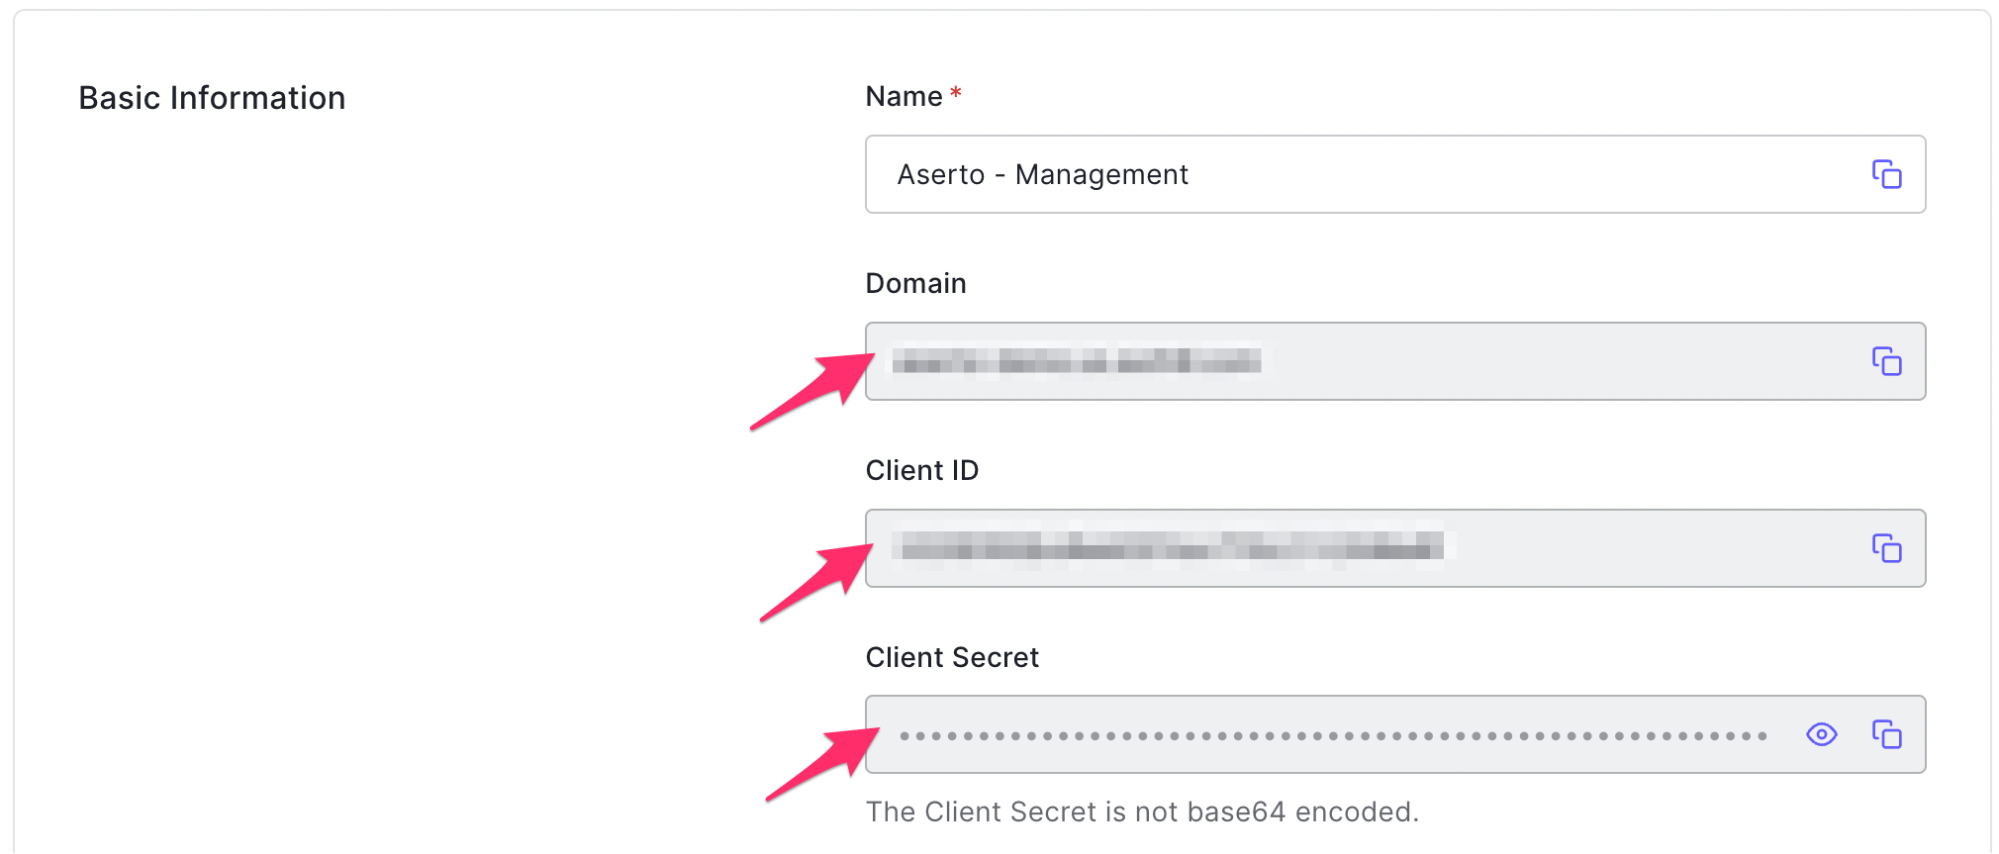
From the settings tab, retrieve the Domain, Client ID, and Client Secret used by this application. We will use them shortly when we add Auth0 to Aserto.
Connect Auth0 to Aserto
To connect Auth0 to Aserto as an identity provider, head to the Aserto console and open the Connections tab.

In the Connections tab, click the “Add a Connection” button. In the following screen, use the “auth0” provider. Name the connection “auth0” and use the display name “Auth0”. Then, paste the Domain, Client ID, and Client Secret you retrieved from the Auth0 M2M application settings into their corresponding fields.

Inspect the directory
Once you’ve added the connection, open the Directory tab.

You’ll see that both of the users you created in Auth0 have been synced to the Aserto directory.
Create an authorization policy
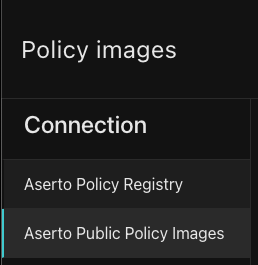
Start by heading to the Images tab:

On the left side menu, click on the “Aserto Public Policy Images” tab.
From the repositories list, click the “policy-auth0-demo”:

Click on the ellipses on the hand side in the following view:
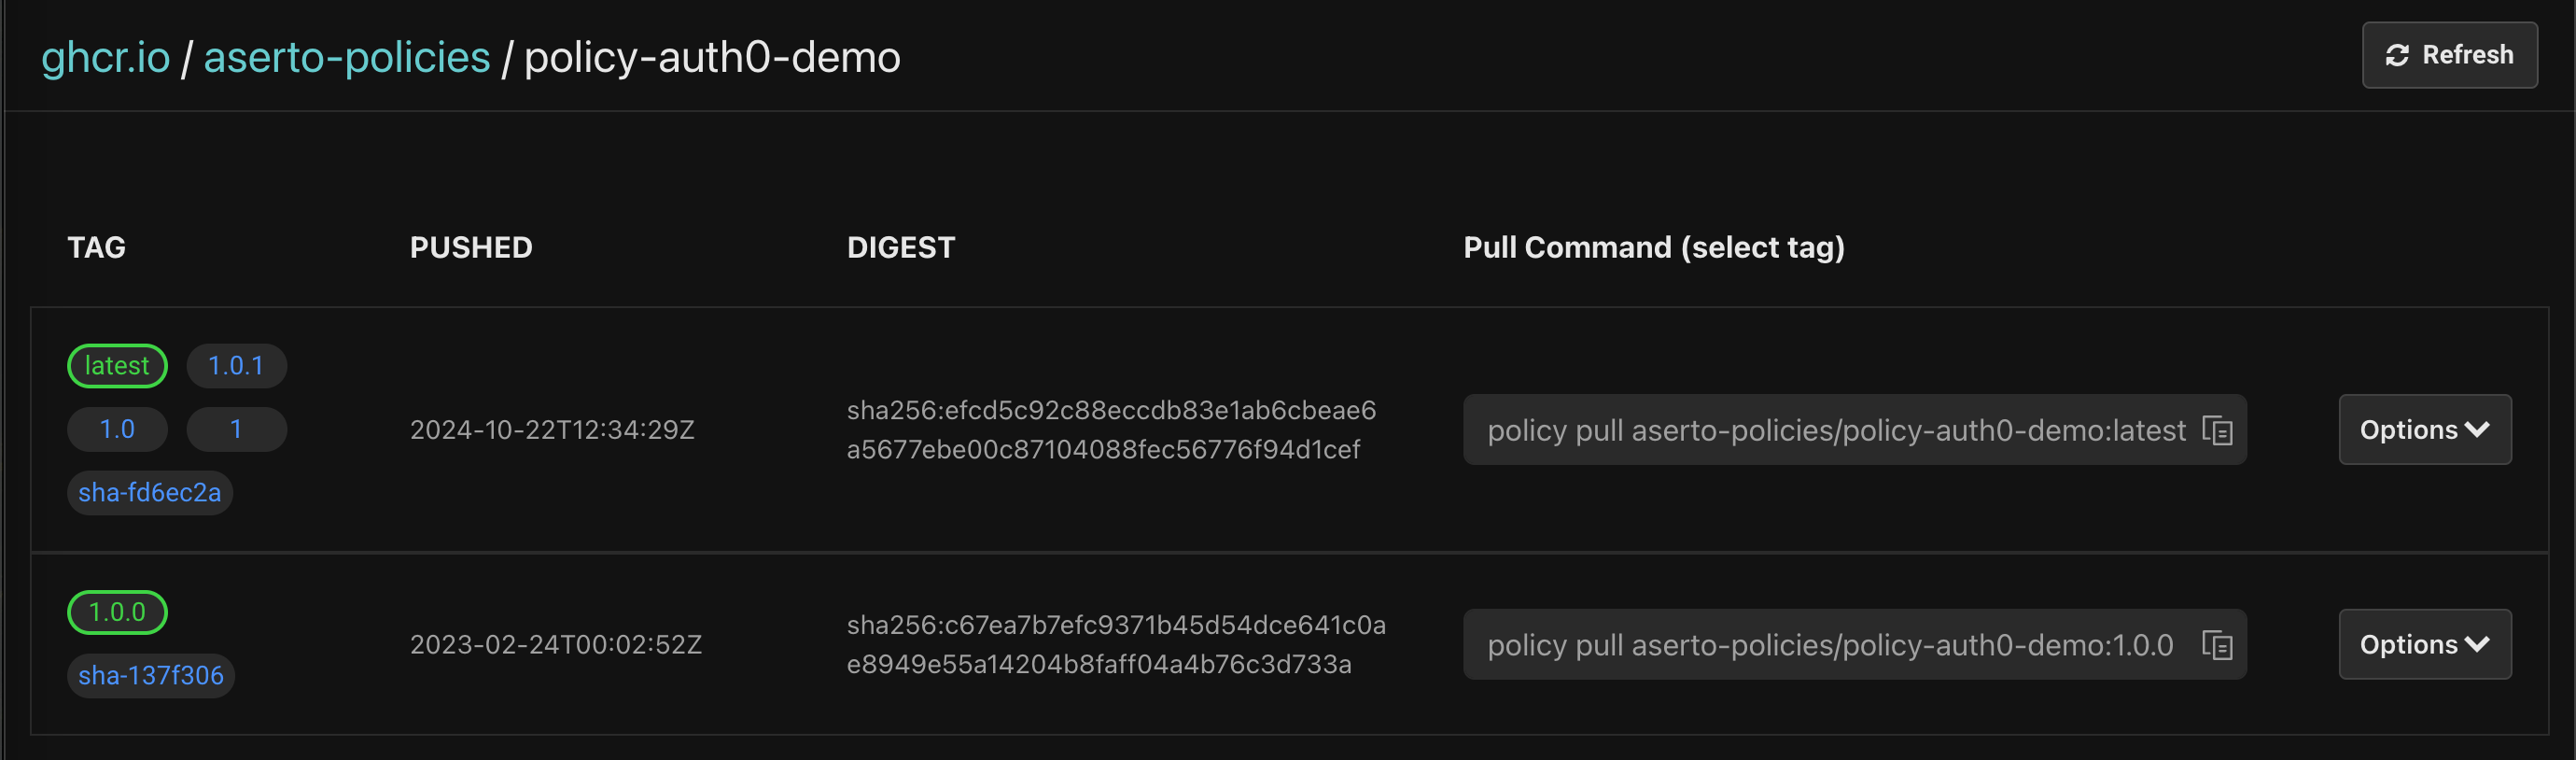
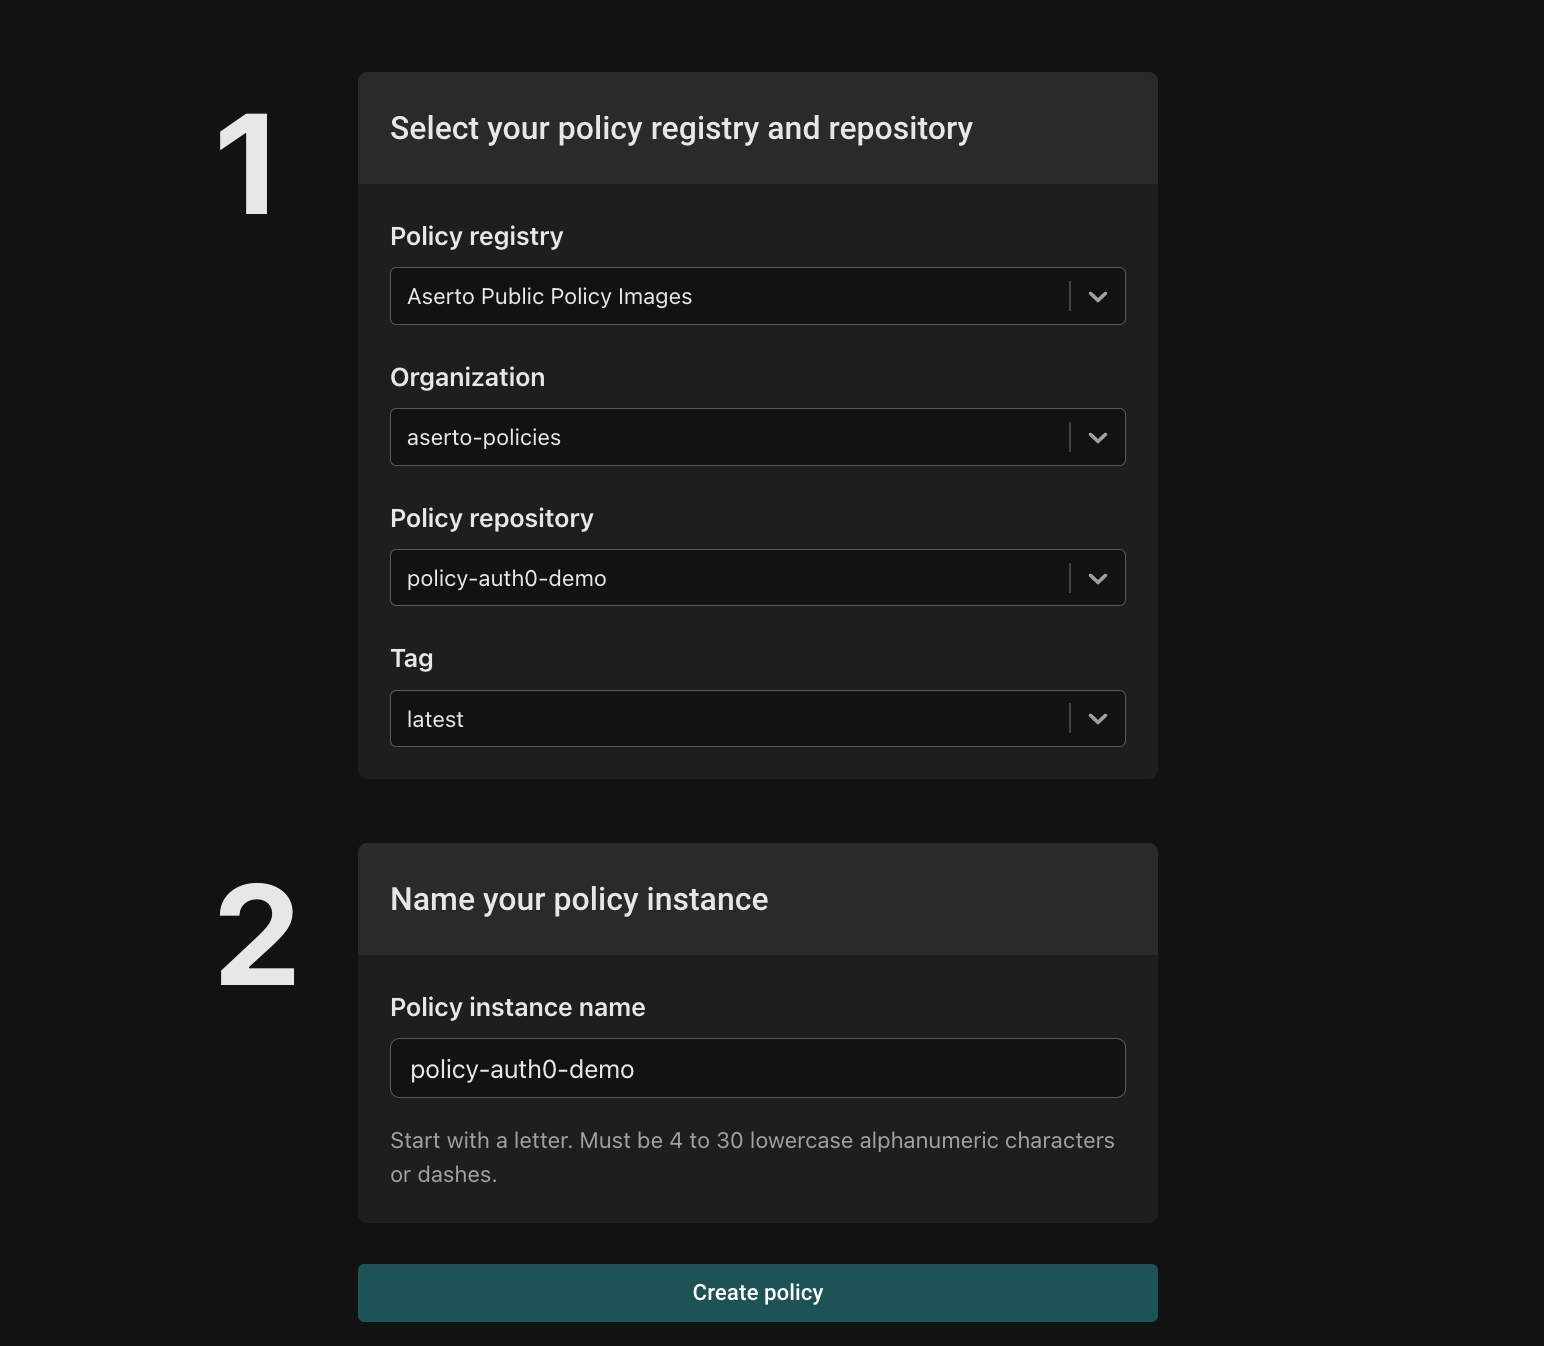
Then, click on “Create a new instance”

Finally, name your policy repository “auth0-demo” and click the “Create policy” button.
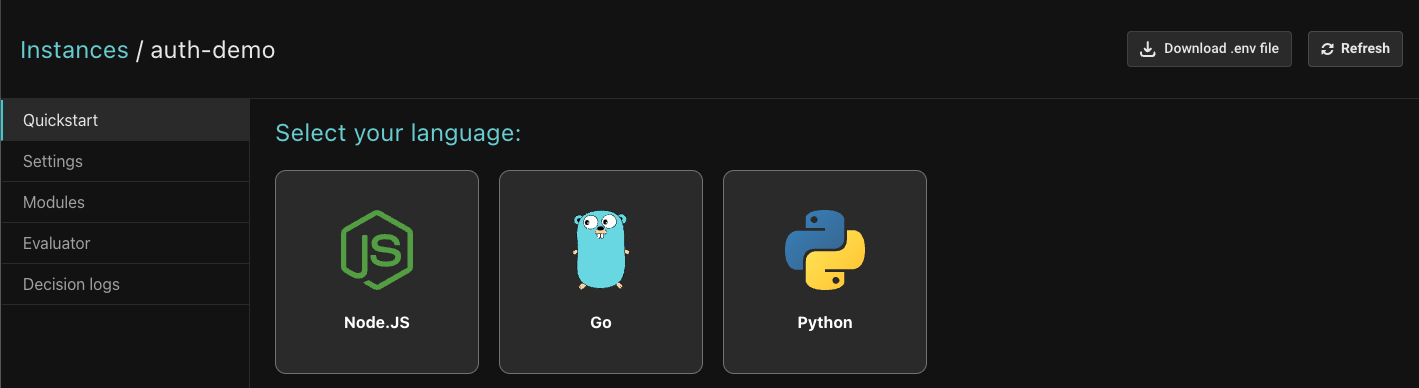
Once you create the policy instance, you’ll see the following:
Update the application
Next, you'll update the Auth0 sample to use Aserto's authentication middleware.
Download .env file
Click the “Download .env file” button:
Copy the contents of the downloaded file to the .env file in the sample Auth0 application. The final file should look as follows:
CLIENT_ID=<Auth0 Application Client ID>
CLIENT_SECRET=<Auth0 Application Client ID>
ISSUER_BASE_URL=https://<Auth0 Tenant>.us.auth0.com
SECRET='a long, randomly-generated string stored in env'
PORT=3000

AUTHORIZER_SERVICE_URL=https://authorizer.prod.aserto.com
ASERTO_POLICY_ID=<Retrieved from the Aserto .env file>
ASERTO_POLICY_NAME=<Retrieved from the Aserto .env file>
ASERTO_POLICY_INSTANCE_LABEL=<Retrieved from the Aserto .env file>
ASERTO_TENANT_ID=<Retrieved from the Aserto .env file>
ASERTO_AUTHORIZER_API_KEY=<Retrieved from the Aserto .env file>
ASERTO_POLICY_ROOT=policies
Add dependencies
Navigate to the Auth0 sample project directory in your terminal, and execute the following command:
yarn add @aserto/aserto-nodeOr with NPM:
npm install @aserto/aserto-nodeOpen src/server.js and make the following changes to allow sending the JWT token in the authorization header:
// Update auth0 config to store the access token
var token;
const config = {
  authRequired: false,
  auth0Logout: true,
  // get the access token
  afterCallback: (_req, _res, session) => {
    token = session.id_token
    return session
  }
};

// Middleware to add the access token the request header
app.use(function (req, res, next) {
  req.headers.authorization = 'Bearer ' + token;
  next();
});
Open src/routes/index.js and add the following dependency:
const { jwtAuthz } = require("@aserto/aserto-node");Ensure the .env file values are accessible from src/routes/index.js by adding the following line:
require("dotenv").config("../.env");Instantiate middleware
In the same file, create the configuration object for the Aserto Middleware:
const authzOptions = {
 authorizerServiceUrl: process.env.AUTHORIZER_SERVICE_URL,
 instanceName: process.env.ASERTO_POLICY_INSTANCE_NAME,
 instanceLabel: process.env.ASERTO_POLICY_INSTANCE_LABEL,
 policyRoot: process.env.ASERTO_POLICY_ROOT,
 authorizerApiKey: process.env.ASERTO_AUTHORIZER_API_KEY,
 tenantId: process.env.ASERTO_TENANT_ID,
 failWithError: true,
};
Then, instantiate the middleware:
const checkAuthz = jwtAuthz(authzOptions);Add middleware to the /profile route
Finally, add the middleware to the /profile route:
router.get("/profile", requiresAuth(), checkAuthz, function (req, res, next) {
 res.render("profile", {
   userProfile: JSON.stringify(req.oidc.user, null, 2),
   title: "Profile page",
 });
});
Test the application
Log in as Morty using the credentials you chose before, and try to navigate to /profile. Since Morty is not an “admin”, you’ll see the following error:

Next, log out and log in as Rick. Since Rick is an admin, you’ll be able to see his profile page with no error:
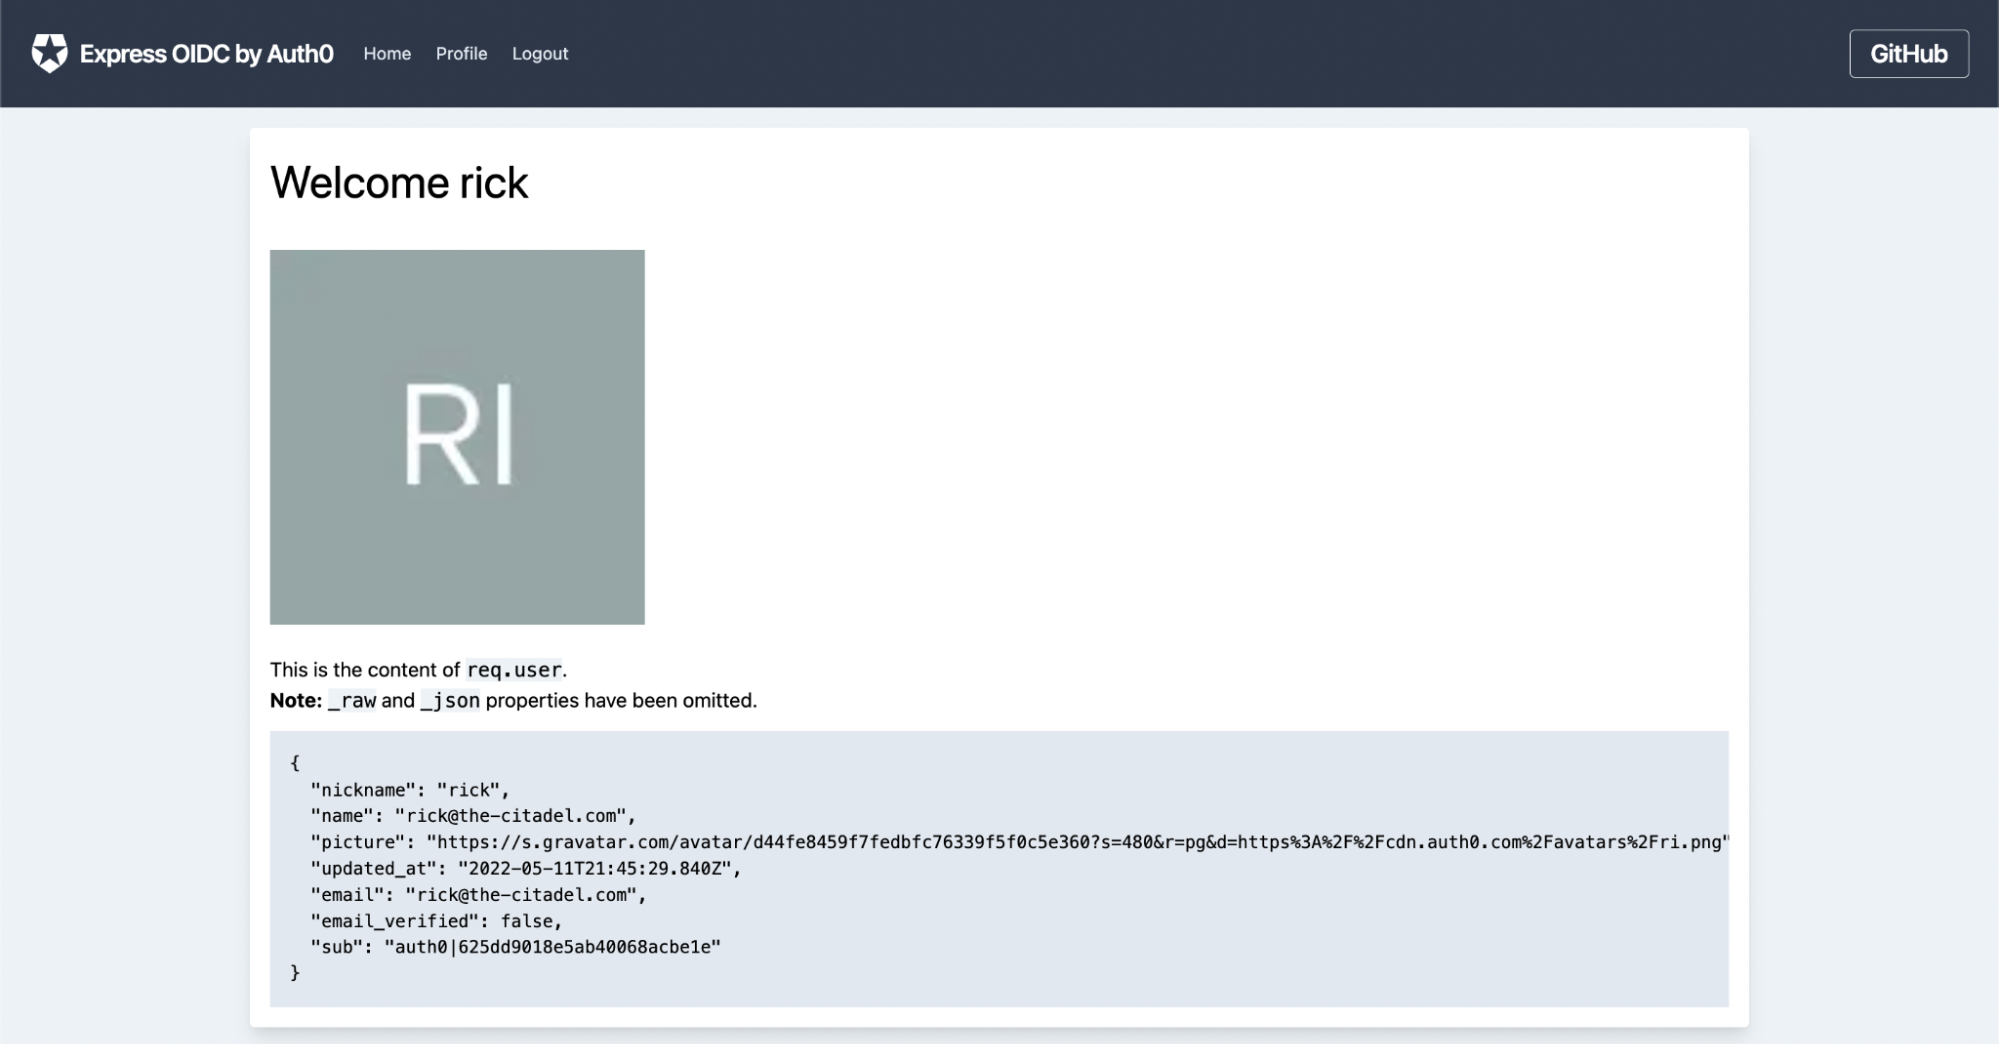
The policy module
Let’s take a look at the policy module that governs the authorization decisions for the GET /profile path.
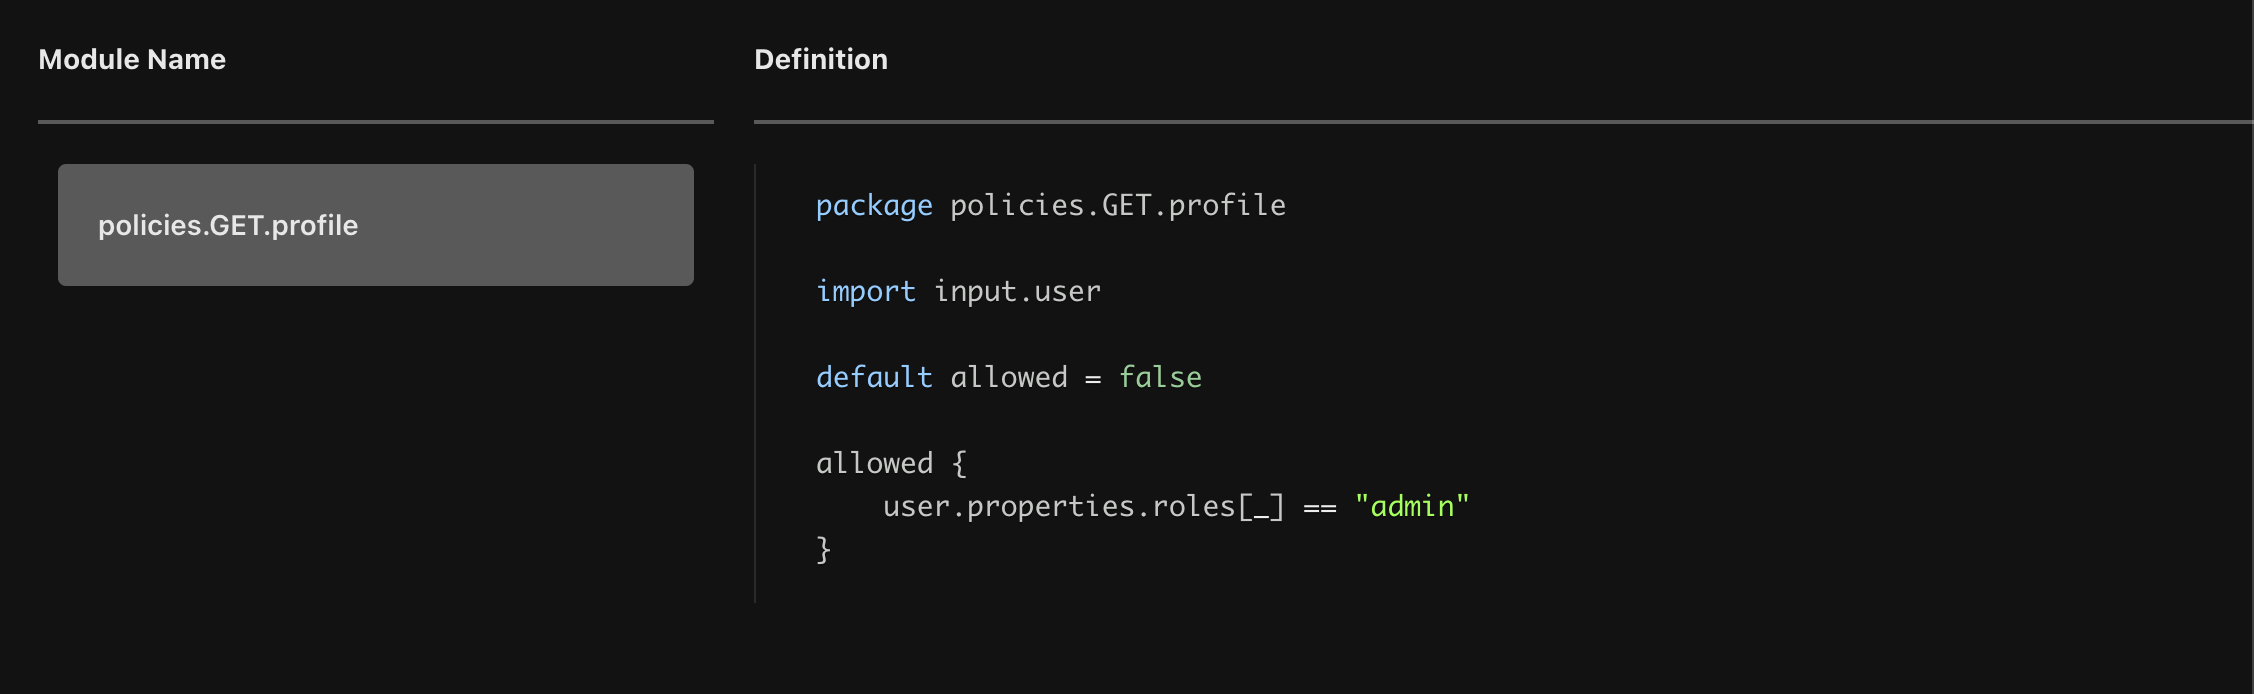
As we can see, the allowed clause accesses the user object, which maps to the user object found in the Aserto directory. Instead of requiring us to pass the role information associated with the user piggy-backing the JWT, we rely on the information found in the directory which is synchronized periodically with Auth0. This means that we are no longer constrained by the JWT, which means that we can define as many roles as we’d like and that we’re not risking the use of stale information when the JWT is invalidated.
In this case, the rule states the user will be allowed to access to GET /profile endpoint only if the user has the role of admin.
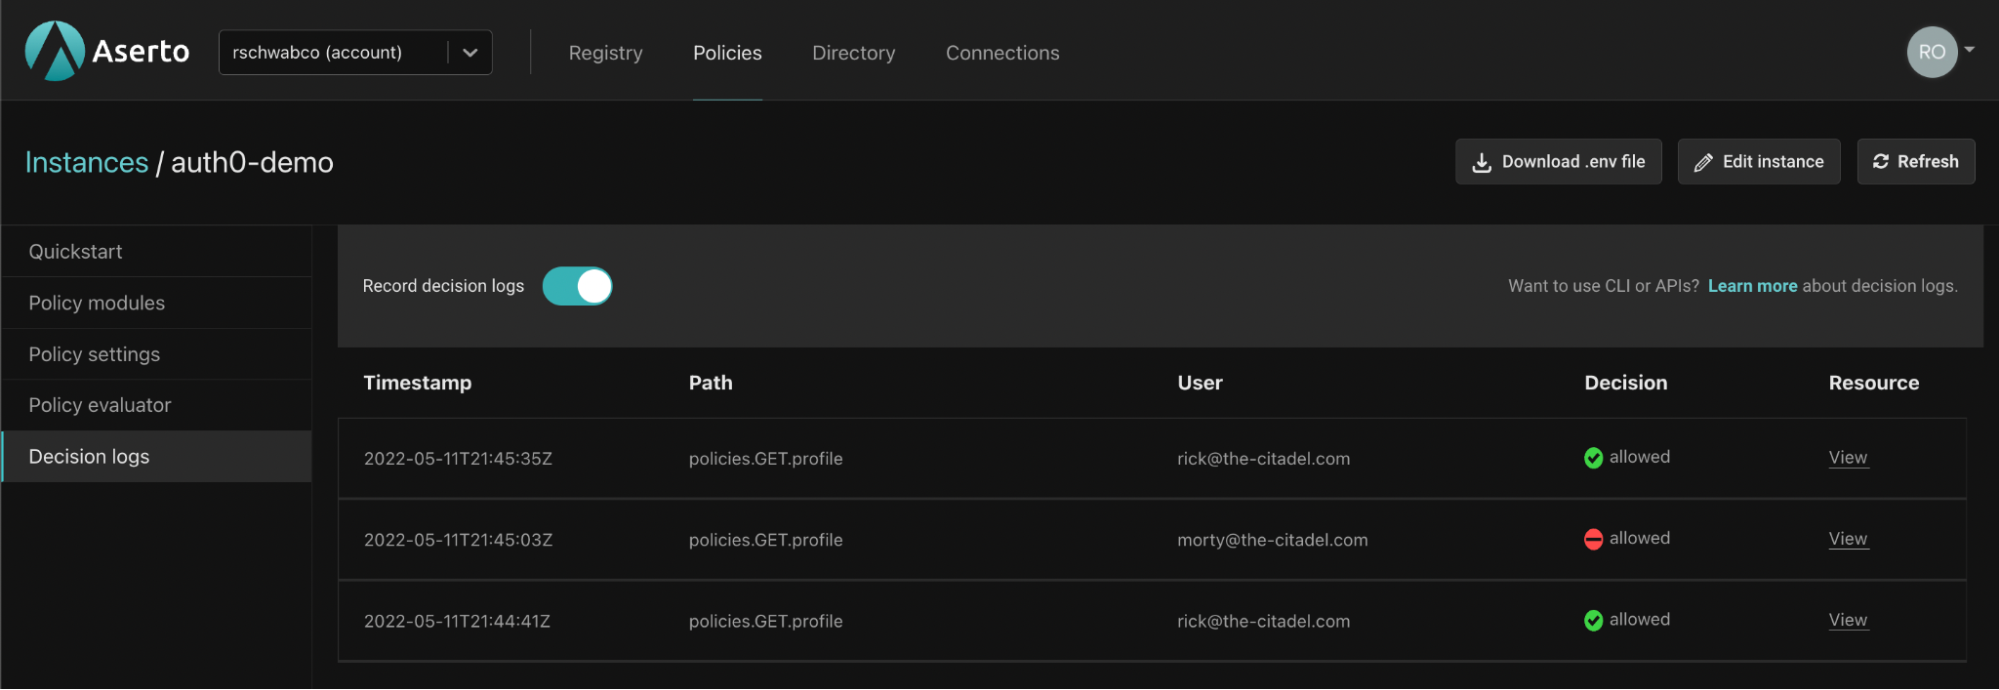
Audit decisions
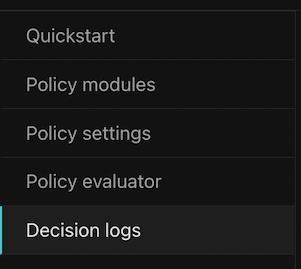
Every decision made by an authorizer can be recorded for future auditing. To enable auditing for this policy, head back to the Aserto Console and open the auth0-demo policy instance you created before. Open the Decision Logs tab:
Then, enable the recording of decision logs:
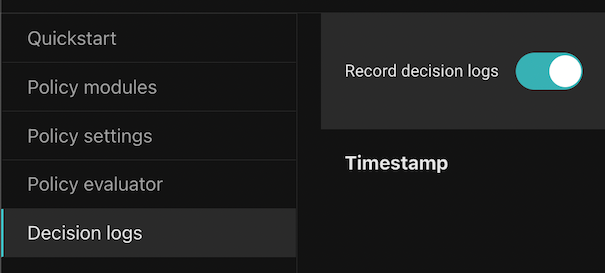
Repeat the test steps mentioned above, and review your decision log.
Summary
In this guide, we walked through the process of adding authorization to the sample Auth0 sample application. We demonstrated how Aserto uses applications permissions vs scopes in JWTs, which in turn allows for much finer-grained permissions to be used. You can read about more elaborate authorization scenarios in our previous posts "From RBAC to ABAC" and "Creating a Rego policy for a Todo application".
Roie Schwaber-Cohen
Developer Advocate
Related Content
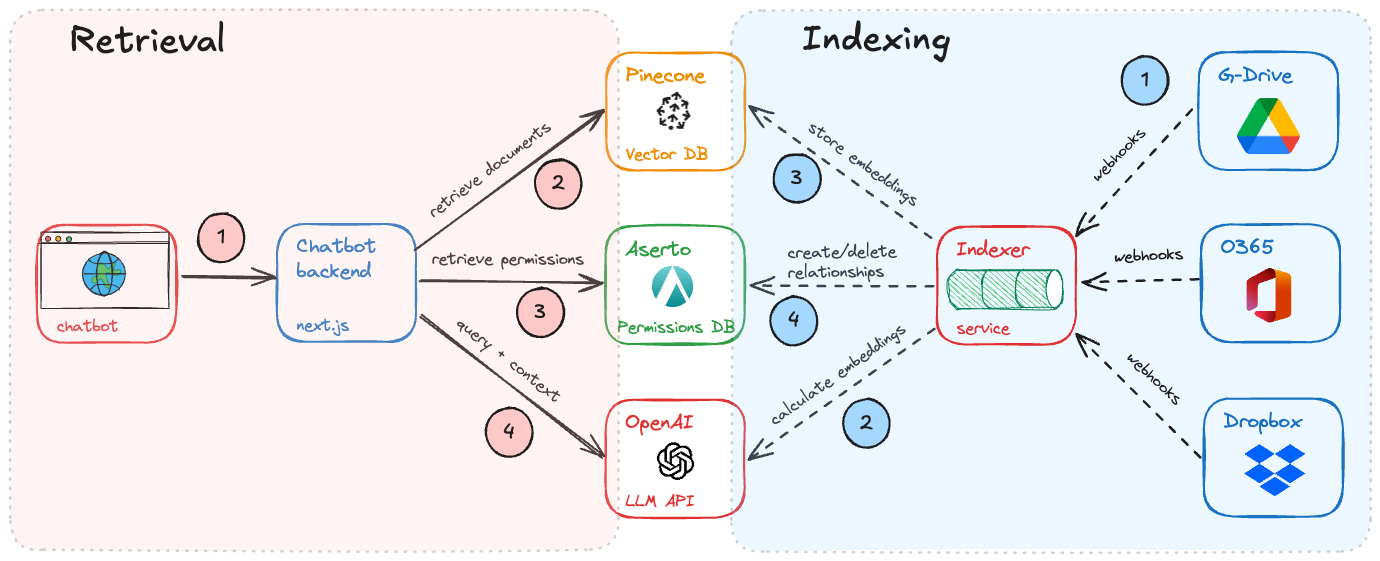
Building Permission-Aware Enterprise Chatbots
Every enterprise wants a chatbot that combines the power of LLMs and your corporate data. But how does the chatbot respect permissions on documents across your enterprise?
Nov 6th, 2024

Cloud-Native Authorization at KubeCon NA 2024
KubeCon 2024 in Salt Lake City felt like an inflection point for cloud-native authorization. Here are some reasons why.
Nov 24th, 2024

Authorization at Gartner IAM Summit 2024
Gartner IAM Summit is one of the top events in the identity universe, and Authorization is becoming a key pillar. Here’s our trip report.
Dec 13th, 2024